Painting Technique: Glazing
I often bore people with long conversations about my use of glazes, without realising they don’t know what I’m talking about. So I thought I’d write a post about this wonderful technique, and how it has transformed my art.
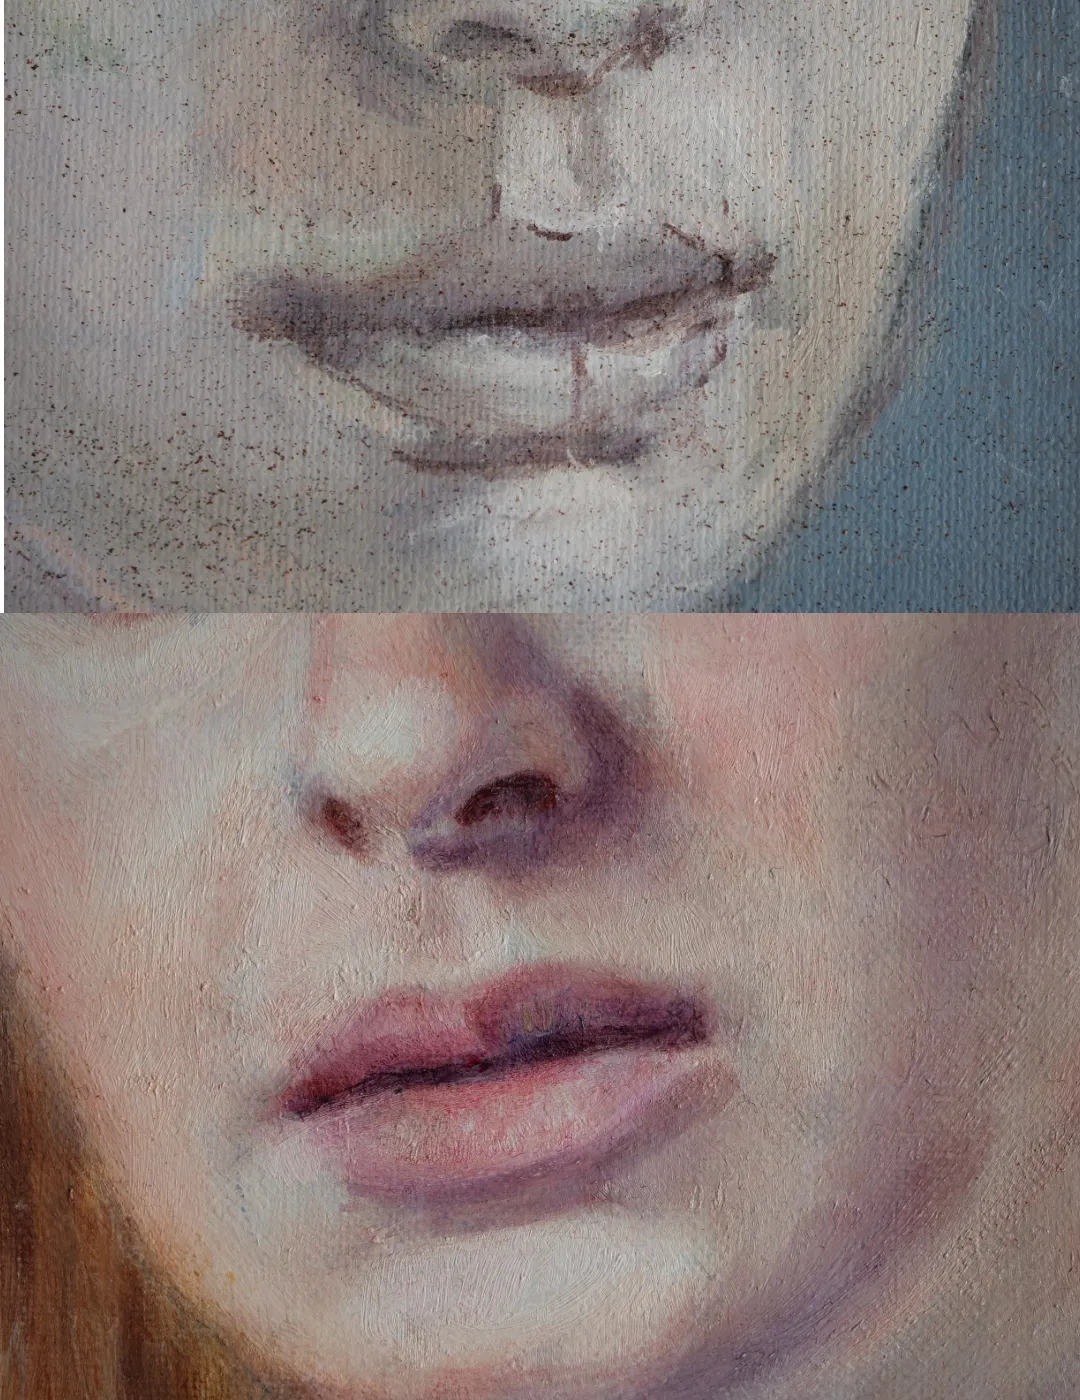
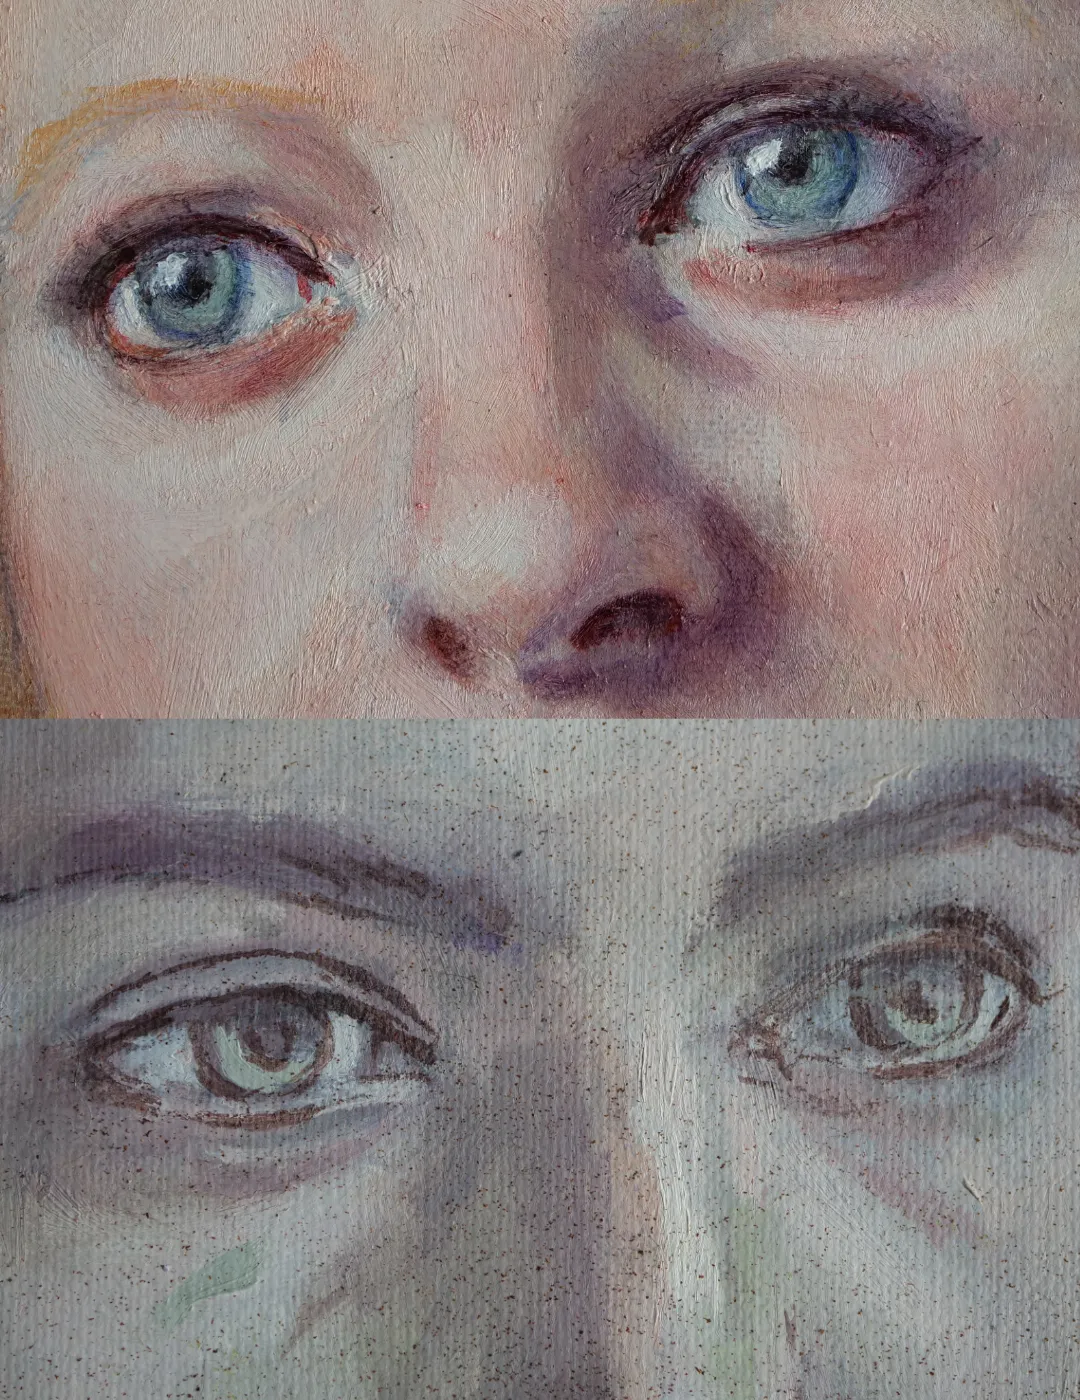
It’s not complicated. Glazing is applying transparent layers of paint over another dried layer of opaque paint. One benefit is that highlighted areas retain their saturation and luminosity, and don’t turn chalky, as is the case if you mix colours with white. Shadow areas can achieve a depth of colour you can’t achieve with a simple layer of opaque paint.
The disadvantage in using this technique is it relies on some forethought in preparing a suitable underpainting, and that underpainting has to be allowed to dry before applying the glazes. This obviously slows down the painting process.
Note: I use oil paints, and everything I say applies to that medium. You can just as easily use glazes with acrylics, but I’m not qualified to advise on which mediums to use.
Grisaille Underpainting
Traditionally a “grisaille” underpainting was monochrome, but I tend to add a little colour during this earlier stage. I am careful to keep the tonal value in shadow areas fairly light, as glazes will deepen the final tone.
The most difficult thing is anticipating how the glazes will look, especially as I might end up with six or more separate layers of glaze, to achieve the desired effect.
How Glazes Transformed my Art
When I studied at art school, there was no instruction in painting techniques. We were left to experiment and find our own means of expression. I embraced speed of execution and painted in an “alla prima” technique – wet paint onto wet paint. It was fine for landscapes (yes, I used to paint landscapes) but I became frustrated that I could not achieve the effects I wanted when painting portraits and figures.
It wasn’t until I resumed painting years later, that I took the time to study traditional painting techniques. It was a revelation. Now I had the tools to create the paintings that I wanted, and it has allowed me to explore portraiture and nudes, which have always been my first love.
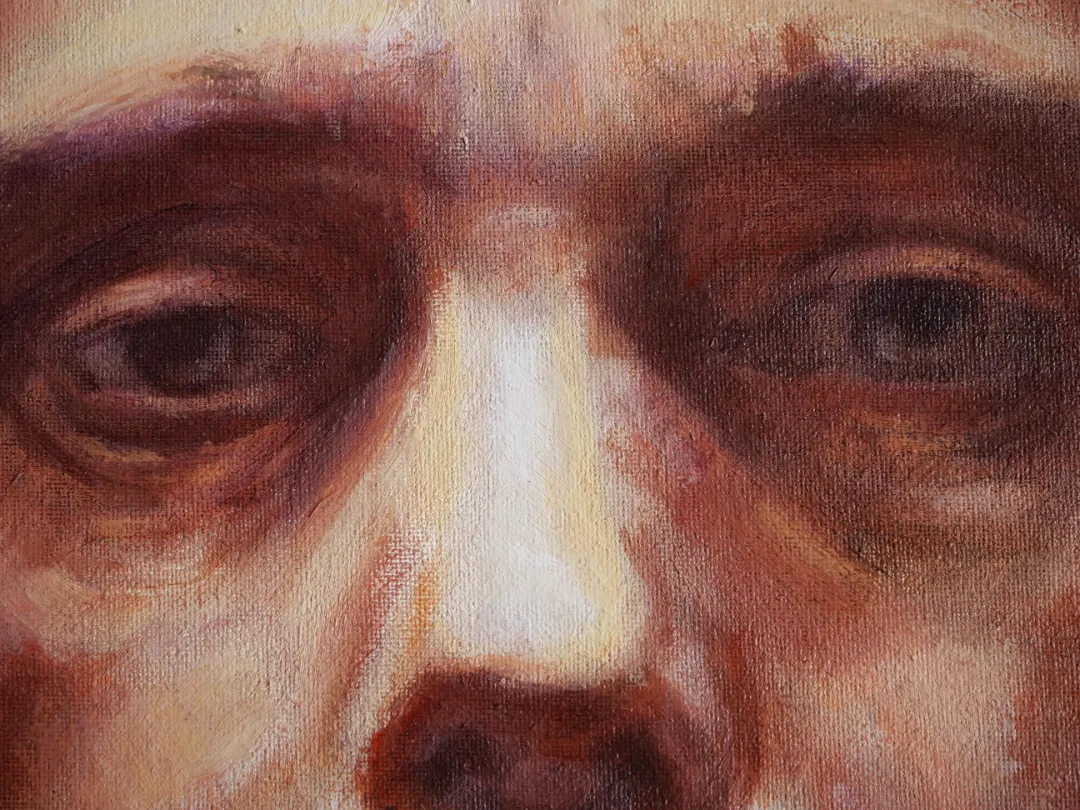
Glazing can be spontaneous
Having written about all the methodical preparation required in using this technique, I should add that they can be applied as freely and loosely as you like. The only limitation is the need then to allow each layer to dry. But if use an alkyd medium like liquin, or just add some to a traditional glaze medium, it will speed up drying times considerably.
Technically you should only use transparent or semi-transparent paints with glazes (transparency/opacity is marked on every tube of artist oil). You can use the same technique with white or opaque colours, but it will give an entirely different effect. One example would be using a thin glaze with zinc white to paint the bloom on grapes.
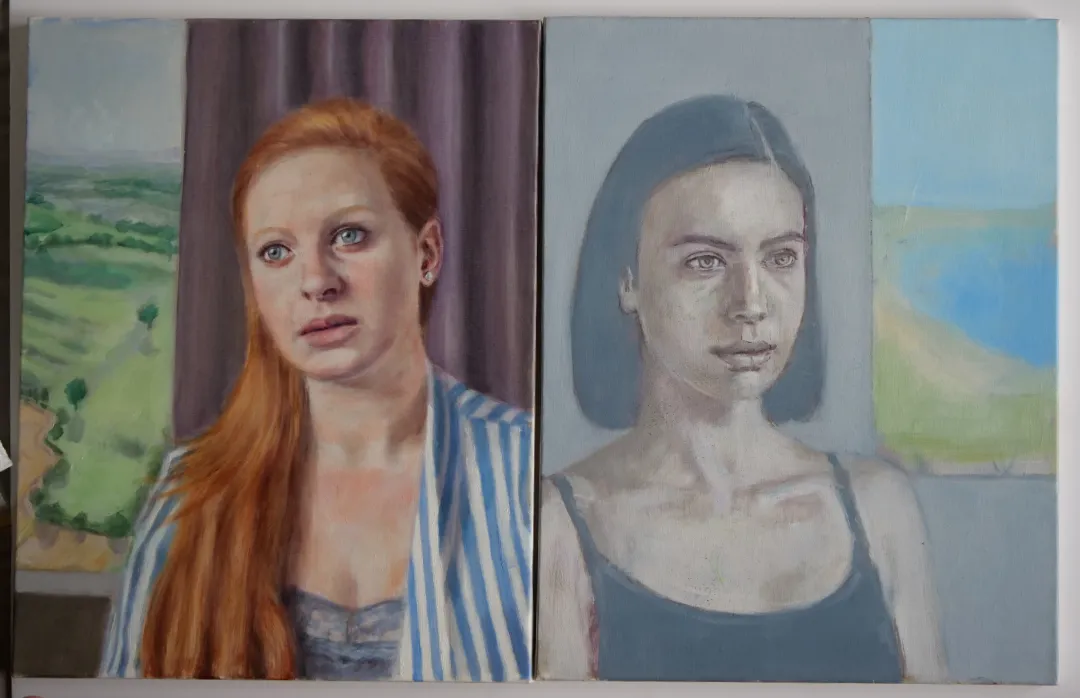
If you like the effects achieved with glazes, you will find that all the paintings in my gallery pages have been painted using this technique.
If you want to read more about the use of glazes, there is an interesting article about how Vermeer used this technique in his paintings:
